
When it comes to enhancing the look and durability of your garage floor, few options can compare to the transformative power of epoxy paint. Our garage had this coating when we moved in, but after a few years the pristine paint chipped and was stained with paint and other DIY leftovers. I called for some bids on epoxy and was told it could cost me up to $7,000! This project all in with supplies was under $250.
Refreshing your garage with a high-quality epoxy coating not only gives your garage floor a professional and clean appearance but also protects it from stains, spills, and general wear and tear. We will share the easy steps that you can take for a weekend fixer, helping you achieve a stunning and long-lasting finish for years to come.
You will need:
- Epoxy paint. We used Rust-Oleum.
- Primer.
- Etching tool. We used this but you can also buy something like this.
- Floor degreaser. We used this but you can also try this.
- Rollers and trays, paint brush and roller extender.
Step 1: Preparing the Garage Floor: Before you begin painting, proper preparation is crucial for a successful application and adhesion of the epoxy paint. Here’s what you need to do:
- Clear the area: Remove all items from the garage floor, including vehicles, tools, and any other objects that may obstruct the painting process.
- Clean the surface: Thoroughly sweep or vacuum the floor to remove loose debris and dust. If you had any painting or epoxy coat that was chipping, use a scraper (we used a garden hoe) to scrape away loose paint chips.
- Next, use a suitable degreaser or cleaner to remove any grease, oil, or stains. We didn’t buy anything special and used our Mr. Clean floor cleaner. Dish soap or Rust-Oleum degreaser would also work. Rinse the floor with clean water and allow it to dry completely.
- Repair cracks and imperfections: Fill any cracks or divots in the floor with a suitable concrete patching compound. Follow the manufacturer’s instructions and ensure the repairs are level with the surrounding surface.
- Etch or Prime the floor: To promote adhesion, you can either etch the concrete surface using Rust-Oleum Concrete Etch or paint with a primer. We used [PRIMER], which was easy to paint on and had a 6 hour dry time. For etchers, follow the instructions provided on the product label and rinse the floor thoroughly after etching.

And here it is fully primed:

Step 2: Applying the Epoxy Paint: Once the floor is properly prepared, it’s time to apply the epoxy paint. We used Rust-Oleum Epoxy Paint, and purchased the 3-car garage size. Follow these steps for a smooth and even application:
- Mix the epoxy components: Rust-Oleum epoxy paint comes in two parts—an epoxy base and an activator. Carefully follow the manufacturer’s instructions to mix the two components together. Ensure thorough blending for optimal results.
- Start at the edges: Begin painting along the edges of the floor using a brush or edging tool. Apply a generous coat, ensuring complete coverage along the perimeter.
- Roll on the epoxy: We added a little at a time to our paint tray. Use a long-handled roller with a medium-nap cover to apply the epoxy paint to the rest of the floor. Work in small sections, applying the paint in overlapping strokes to achieve an even coat. Avoid excessive rolling, as it may cause bubbling or unevenness.
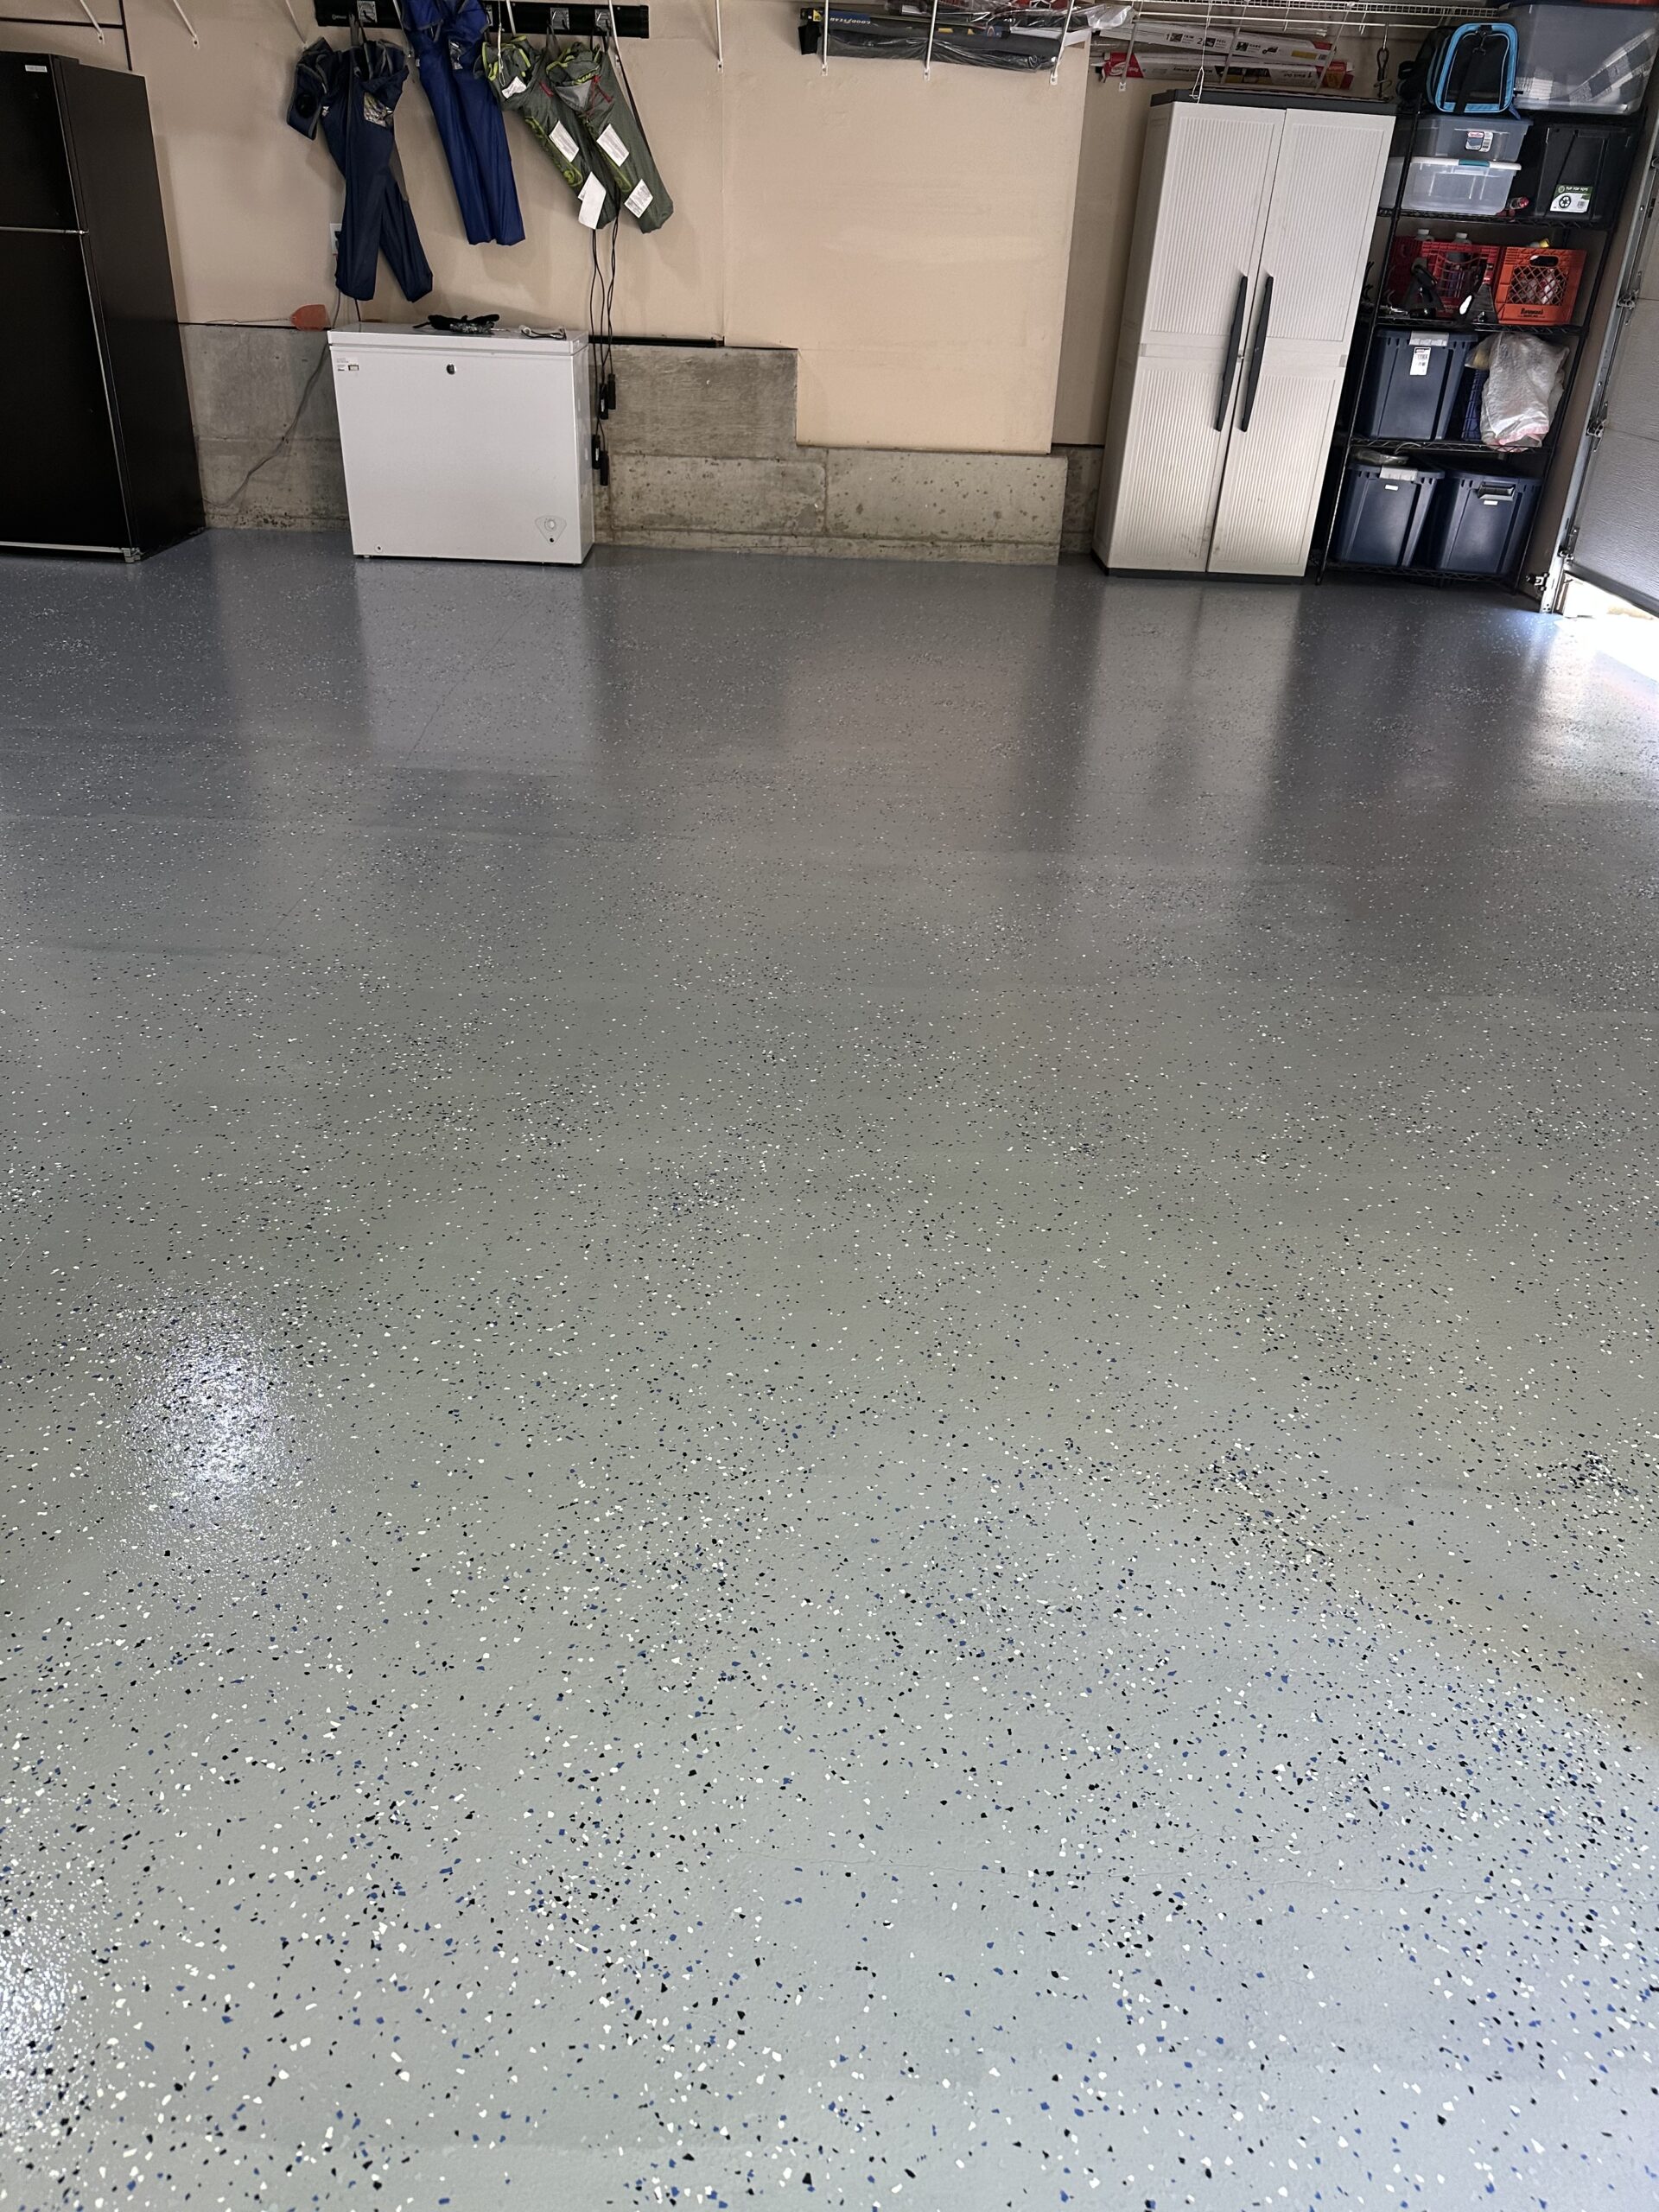
- Add decorative flakes (optional): We liked the look of flecks, so followed along to sprinkle decorative flakes onto the wet epoxy surface. These flakes are available in various colors and can create a beautiful textured finish. I just pretended I was a fairy and sprinkled them around. You can buy more if you run low here.
- Allow curing and apply a second coat (optional): After the initial application, allow the epoxy to cure according to the recommended drying time provided by Rust-Oleum. Once the first coat is fully dry, you can repeat the process with a second coat, ensuring the same thorough application and coverage. We chose to not do this since we flaked as we applied the first coat, but would have had enough material to do a second coat.
Here’s what the floor looked like as we applied the epoxy to the primed floor:

Step 3: Curing and Maintenance: After the final coat of epoxy paint is applied, it’s essential to allow the floor to cure properly before subjecting it to heavy use. Make sure you turn off lights as you paint out of the garage, and remove anything essential before you paint.
- Curing time: The curing time for Rust-Oleum epoxy paint can vary depending on the product and environmental conditions. Typically, it takes around 24-48 hours for the epoxy to cure to the touch, and 3 days before driving on the surface. We waited 2 days to move items back in as well, and avoided dragging anything back into place.
- Regular maintenance: Once fully cured, your newly painted garage floor will be highly durable and resistant to stains. To maintain its appearance, clean the surface regularly using a mild detergent and a soft-bristle brush or mop. Avoid using abrasive cleaners or tools that could damage the epoxy coating.
Transforming your garage floor with DIY epoxy paint can dramatically improve its appearance and durability. By following the preparation and application steps outlined in this article, you can achieve a professional-grade finish that will protect your floor for years to come. With proper care and maintenance, your garage floor will not only be visually appealing but also resistant to stains, spills, and daily wear. So, get ready to enjoy a stunning garage space that reflects your style and enhances the overall value of your home.


