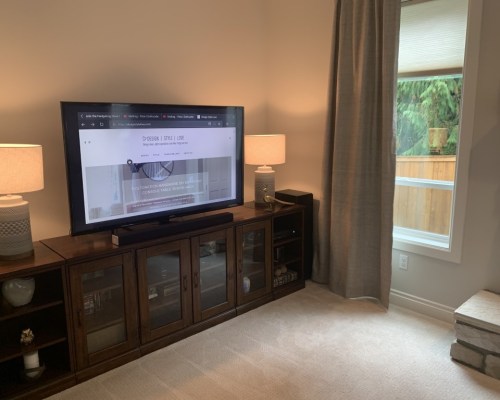
We finished painting our main living and hall area last week. It’s just the start of several changes we’re making in #missionbrightenlivingroomcommenced. I have a new entry rug, which you can see here, and we’re making some furniture changes, and another few rugs on the way.
Upstairs, the walls looked so bright with the paint refresh! But that also meant my art that worked well on a darker grey wall didn’t quite work here. I have loved my Babies Wall since I had my first little in May 2013. I found four square frames at Aaron Brothers and put pictures I’d taken of my son in those. When my daughter was born a few years later, we had moved to our current house. I updated a few pictures to have an even boy-girl distribution. I love walking by the pictures and seeing their cute little toes and chubby baby faces. It brings me such joy!
I thought about updating the pictures altogether, but why give up all that joy? With the lighter walls, the silver leaf color of the frames did not work. Luckily these are wood, which is very versatile. They just needed a little facelift. My $3 fix is this:

Besides learning a lesson that I MUST BE MORE CAREFUL WITH SHARP OBJECTS, it was a super fast, simple change that makes a big impact in my hallway.
Here’s the before. Not bad, but just the updated look I wanted:

To start, I took apart the frames. I wanted to make sure they were all the same size or if I needed to organize them in a special way to disguise measuring discrepancies.

Then I set up a spray area using recycling paper in the garage. It’s too cold here to spray outside, and too damp in the PNW. needed several coats of paint, but within a day it was done and ready to be re-assembled.

Easy-peasy updated wall art for $3.

You can also check my Reels where I put this together here.
I’ve got some Rub N Buff wax rub on the way to do a few more projects, and will post those when they are done. Can’t wait!